

Start by confirming the yellowing is on the outside of the lens. Wash and dry the lamp, check for cracks and moisture behind it, and use a kit designed for the lens material. Follow the current kit’s surface preparation, restoration, and protection instructions in order.
Read the audio transcript
Wash and dry the headlight before judging the yellowing. Check whether it is on the outside. Follow the exact kit's preparation and protection instructions. If you see moisture behind the lens, cracks, or weak output afterward, have the assembly inspected.
1. Check the exterior lens after a wash
With the vehicle parked and the lamps cool, remove loose surface dirt and dry the lens. Inspect from the front and at a shallow angle. Surface discoloration that remains after a wash may be a candidate for exterior restoration. Moisture behind the lens, damage, or cracking deserves a separate inspection.
2. Read the kit before starting
Confirm the listed surface and required conditions. Read which steps to use, where to protect adjacent surfaces, and whether the label calls for drying or curing. Products differ in applicators and abrasive steps. Apply the method described for the kit you have.
3. Work in the order on the instructions
Keep the labeled prep and protection steps together. Apply each product solely to the intended area and follow its wait times. If the packaging includes a final coating, use that coating as directed and observe any guidance on water exposure.
4. Compare both lamps after the work
Look at the treated lens in daylight and compare light appearance with the other side. If you still see persistent moisture, damage, weak output, or an irregular light pattern, arrange inspection of the lamp assembly.
Related Wowiper guides
- Understand what causes an exterior lens to yellow
- Tell internal moisture from outer-surface haze
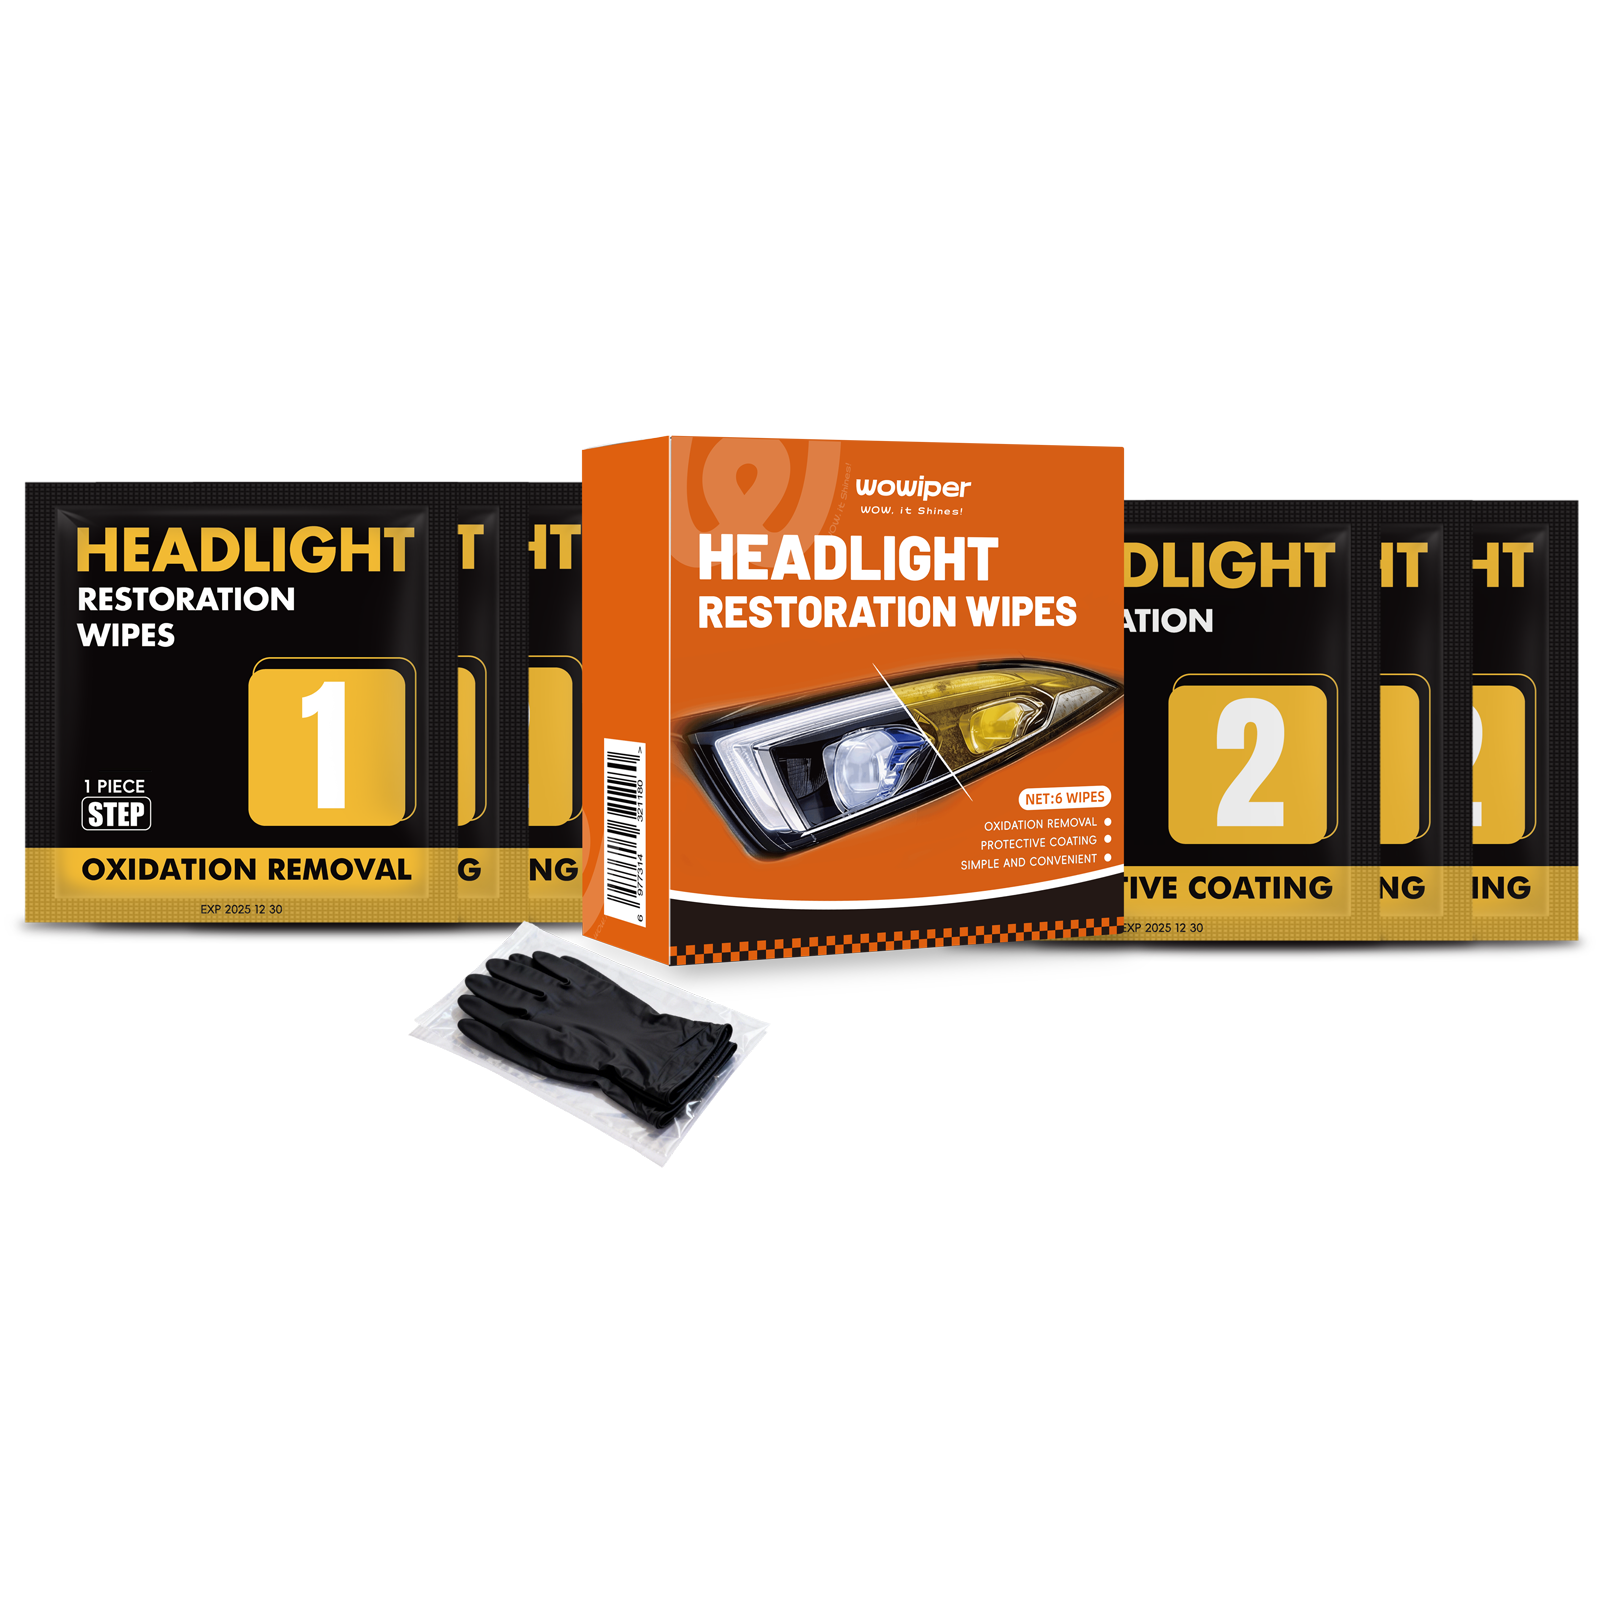
- View the Wowiper restoration wipes kit